One of the top confusing issues refers to the situation when your LG dishwasher has no power and lights aren’t coming on but the appliance is beeping. What a nightmare for the owners! Fortunately, that’s not the end of the unit's life and there is a solution. It looks like the user interface board is defective. order a new part and replace it following the instruction below. The access to the board is gained through a cover panel on the back of the washer. Pull it out from the wall (if you have not done so already) and locate the screws. Inside you will note the control board, and a whole bunch of wires and stuff that you can ignore. The user interface board is sandwiched between that control board and the metal housing of the washer, inside of a plastic frame. The whole top unit can now be tilted forward and laid face down on top of your washer. This will allow you to easily get the rest of the job done. Look for the retaining screws that hold this plastic frame/housing in place and remove them. The plastic frame can now be pulled away from the metal housing, and you will get your first glimpse of your culprit - the broken user interface board. There are two sets of data cables with the multitude of colors. You should take care to pull these out with care - they can take some effort though, just don't torque them back and forth, and don't pull on the cable but use the plastic fitting. Remove the power cable from the brackets in the housing. The control knob is needed for the replacement board. The user interface board is held in the housing by clips along one side, and small preformed brackets along the other side. The brackets are not flexible, and you should not attempt to remove the board along that edge. Rather squeeze the clips with a pair of long nose pliers (or your choice of weapon) but don't squeeze it too far or else the clips will break. Now that the old board is out, the new board goes in exactly the way the old one came out. Next, plug the data cables into the control board. Apply pressure at the ends of the plastic fittings and not on the cables themselves. So now with the board fitted and plugged in the electronics module can be screwed back in place and the metal housing unit returned to its position atop the washer. The back access cover is screwed back on, and hoses refitted, and power plugged back in. Surely, it sounds quite complicated. Maybe, it would be better to request professional assistance.

November 26, 2023
AC is leaking from the coil – HVAC Troubleshooting in San Diego
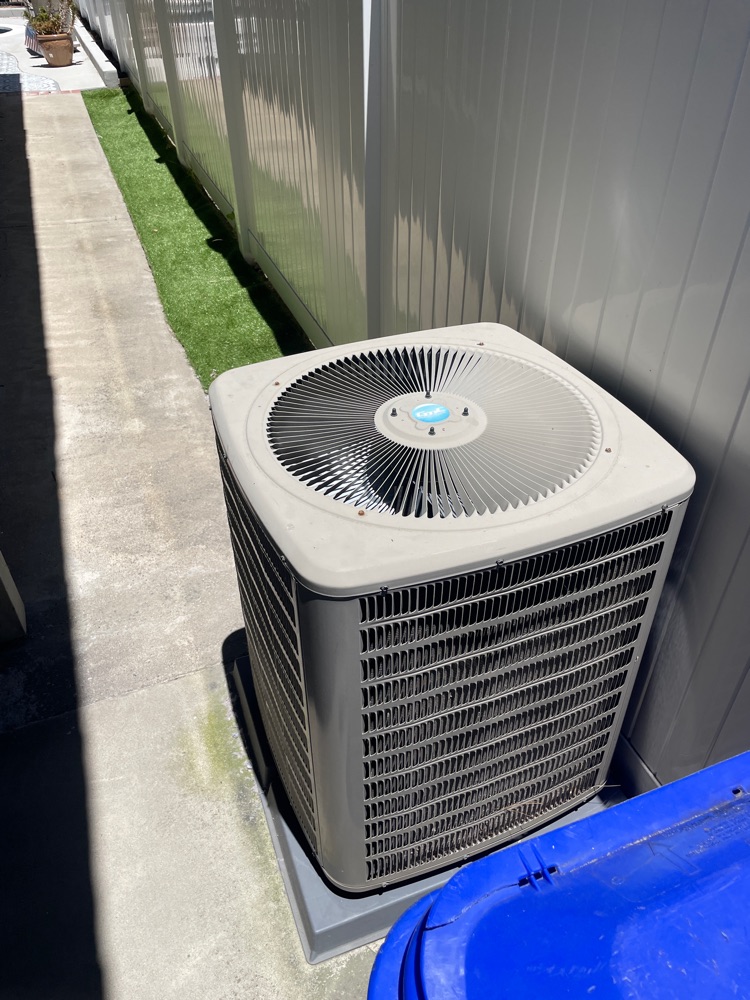
Have you encountered a leaking air conditioner? This causes not the most pleasant feelings and deprives you of comfort. Before solving this problem, you should determine what exactly became the source of the air conditioner flow.


